Important!
- The tape is always applied to the surface with firm and strong thumb or finger pressure. Post-processing is preferably done with a roller or plastic spatula.
- Note that movements in the substrate should be minimized for optimal durability and test the adhesion on the substrate before installation.
- The surface should be clean (consider surface treatments), grease-free (silicone-free), dry, and smooth. Follow the recommended working temperature for best results.
- Do not stretch the tape too elastically as it will always try to return to its original shape and width.
- Consider forces and movements in the underlying foil (or membrane). Especially free-hanging and non-fixed substrates where temperature fluctuations (e.g., temporary higher temperatures during construction) can create tensions and movements in the tape joint due to the influence of self-weight!
- Ensure that the base is properly secured and fixed according to the accompanying installation instructions or reinforce the taping (support tape, wider tape) corresponding to the additional load that may occur!
- When assembling in lower temperatures, the tape should be stored in a warm storage before assembly for the best assembly results.
- When taping at lower temperatures: The tape will achieve its final strength when the temperature is above +5°C. The assembly and application against the surface should be compensated with higher pressure! In general, tape applications should be free from tensile stress. This should be particularly considered at low processing temperatures.
- To ensure aging resistance, the tape should be stored or installed in the operating environment protected from sunlight (UV radiation) and not exposed to temperatures above +35°C.
- For identification, always tape up the first piece with the label visible!
- When used outdoors with wind protection fabric, the tape should not be exposed to sunlight (UV radiation) for more than a maximum of 4 months. For wind protection boards, the exposure time should be shortened, or alternatively, T-Flex Outdoor is recommended as it is optimal for outdoor use. Prior facade covering is always preferable.
1. Installation
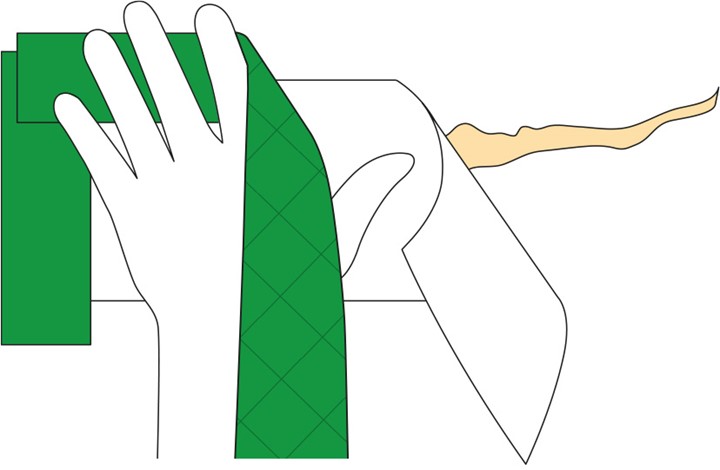
Cut to the appropriate length and remove the protective film. Attach the tape to the surface carefully with pressure from the center of the tape out to both edges. For longer pieces, remove a little of the protective film first, attach and roll out while pulling off the film. Cut to the desired length. With firm pressure over the entire tape
best possible adhesion. Always ensure the first piece of the roll, including the label, is clearly visible somewhere on the taped object. When using on wind barriers, avoid taping wider than the tape's width. On less restricted areas such as connections/penetrations, overlapping taping is allowed.
2. Overlap joint
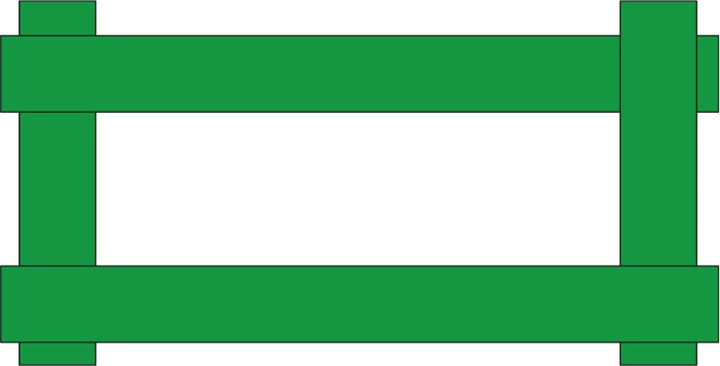
At the joint, the tape should be attached halfway on one surface and halfway on the other. No gaps should be present in the final joint connection. To reinforce the assembly, several strips of tape can be applied side by side or cross-taped with shorter pieces across and beyond the underlying tape (approximately 30 mm).
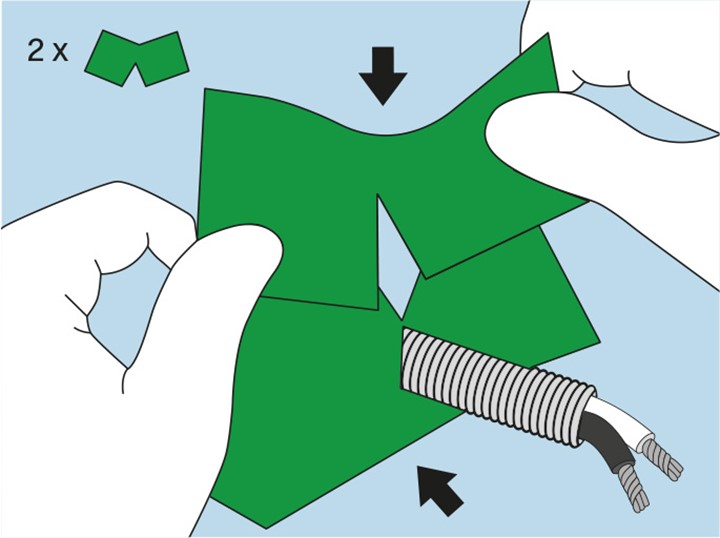
3. Cable/hose penetrations
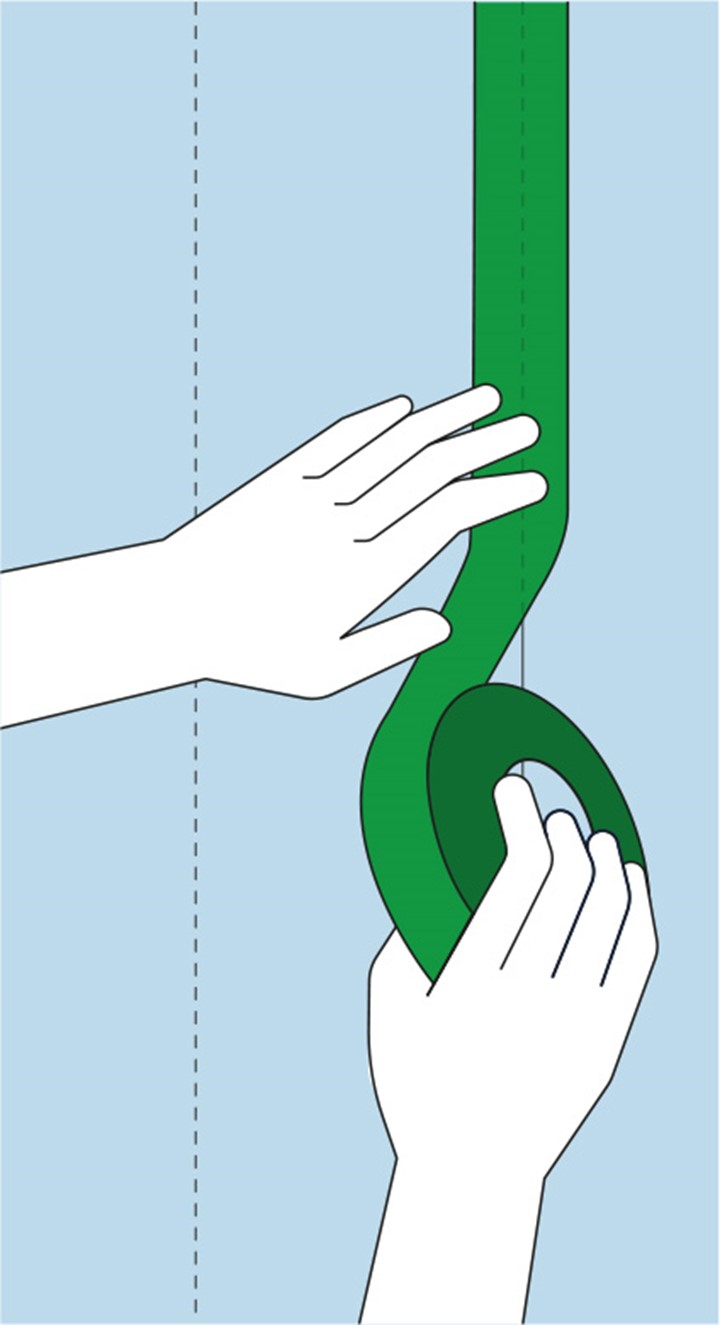
Use at least two shorter pieces of tape (100 mm + diameter). Cut a slit halfway through the width in the middle of the tape. Place the first piece of tape with the slit against the cable/hose and press firmly. The next piece of tape meets the opposite side and overlaps. Press out towards the foil and around the penetration. If there is any doubt about the seal around the penetration, add more pieces of tape.
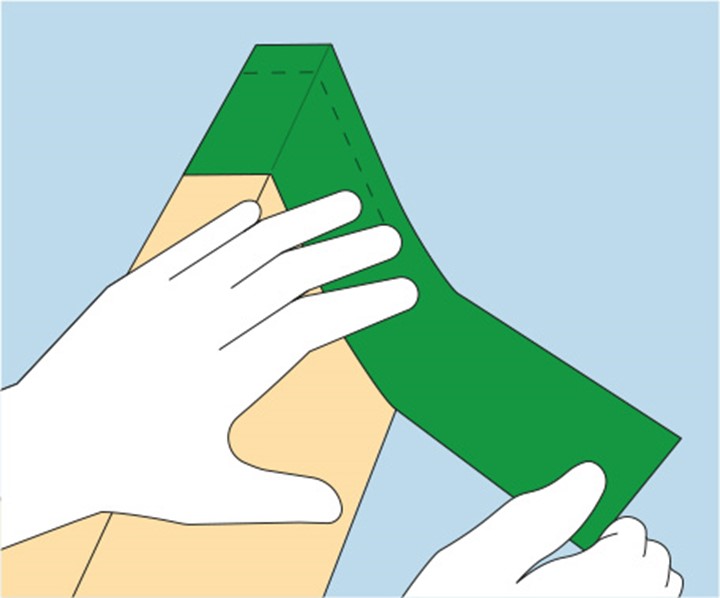
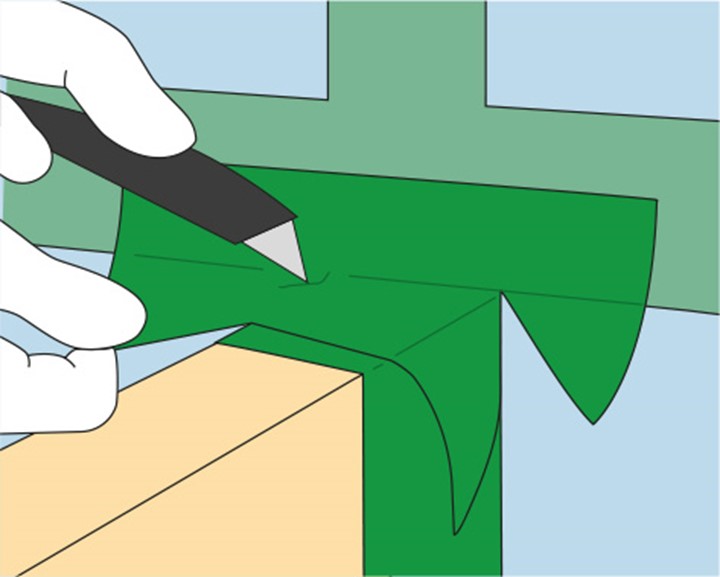
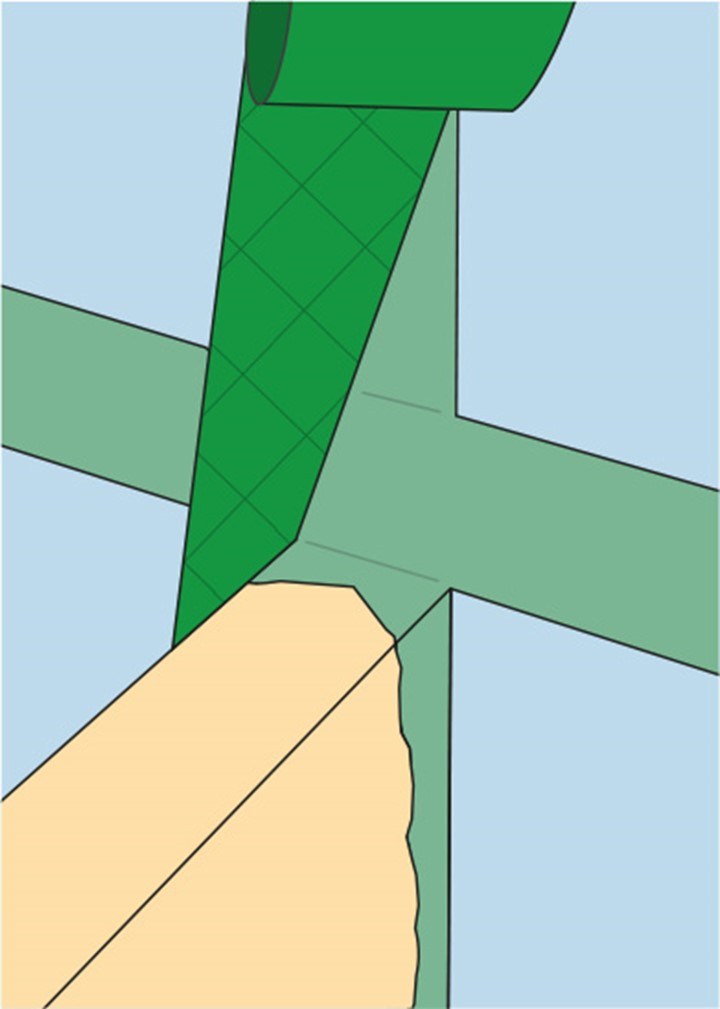
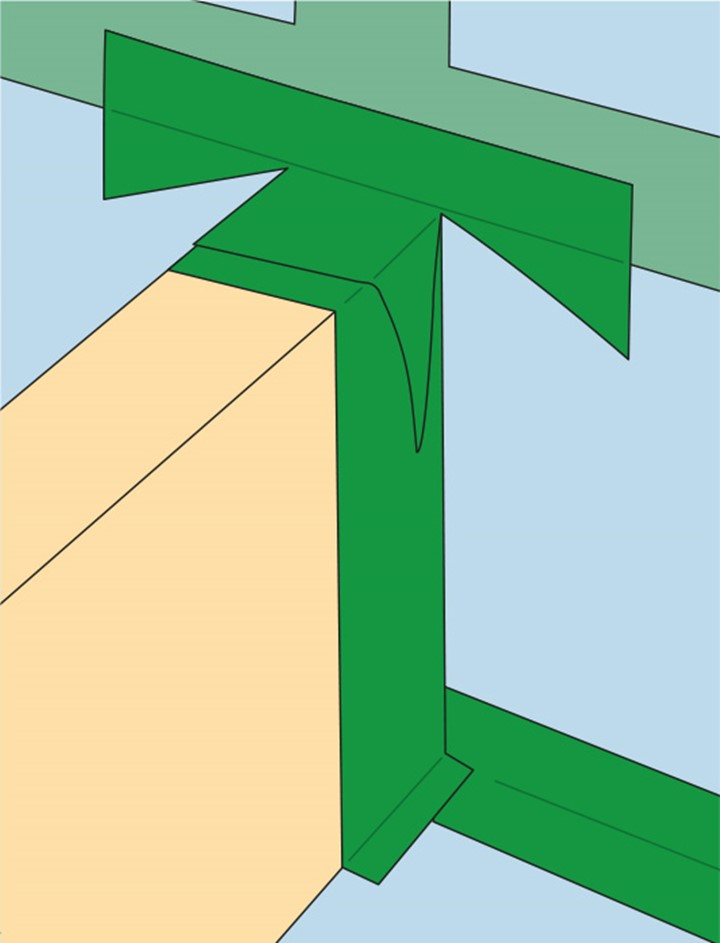
4. Beam Penetration
Cut the foil (membrane) with the smallest possible incision (corresponding to the height of the beam). Tape around the beam with the foil clamped in between. Finish with an angled taping that extends about 30 mm on each side of the beam's height edge. Bevel cut from the inner corners out towards the lower corner of the short side. Fold down on both edges, finish by pressing the tape joint firmly.
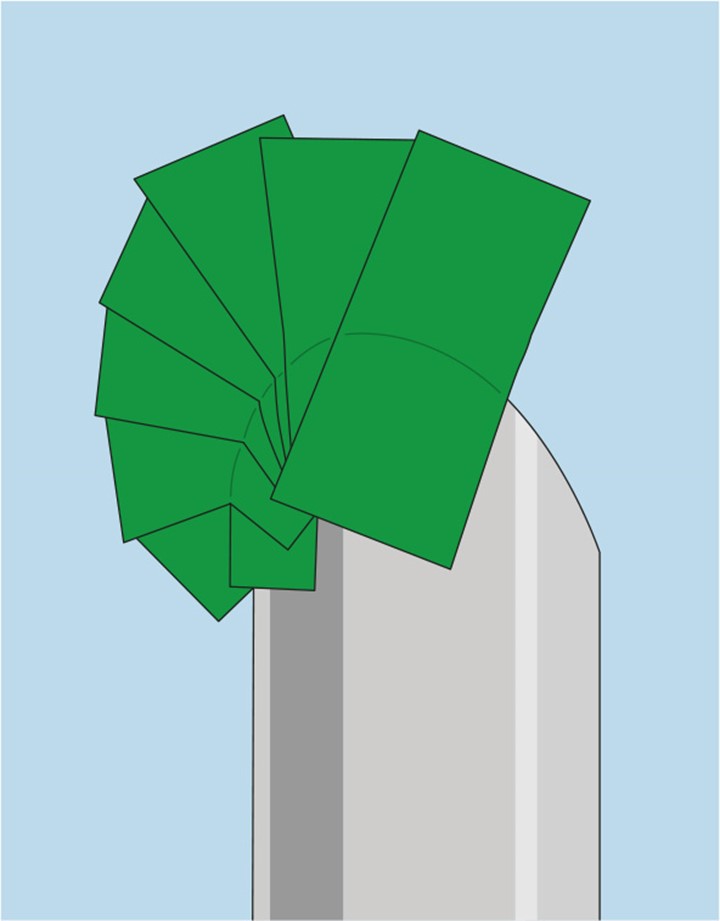
5. Pipe Penetrations
Tape with shorter pieces (approximately 150 mm) in the direction of the pipe and with half the length on each construction part, as well as overlapping from tape to tape. Press the tape joint firmly.
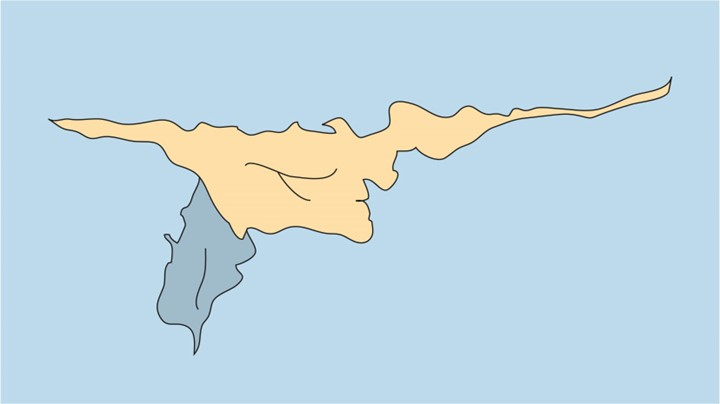
6. Damage foil
Cut the necessary tape lengths according to the maximum length of the damage. Tape the length of the damage so that overlap occurs around the damage and between the tape pieces arbitrarily. Smooth out the tape joint. If necessary, transverse lengths can finish the joint for better strength
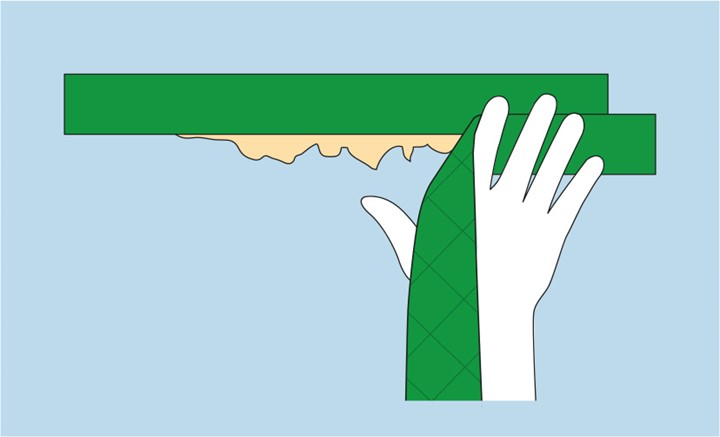
7. Damage to windproof fabric
Cut the necessary repair piece from the wind barrier. Tape around the piece in a single width with suitable tape pieces. Exposed staples or nails in the wind barrier are considered damage and can be advantageously protected with tape in a single width. The top edge of horizontal nail battens against the wind barrier can also be protected with tape.
