20240910
Important!
- After the roof is completed, the T-Vent should be protected by the permanent outer roof covering.
- The mounting screws should be tightened just enough into the surface so that the screw hole slightly bends downward. Not too tight to crack the material and not too loose!
- The mounting screw should be intended for external use and for the specific detail.
- T-Vent should not be stepped on/mechanically loaded during or after installation.
- The function of installed ventilation ultimately depends on moisture dimensioning for the construction. Consideration should be given to any additional harmful moisture from other building parts, such as defective internal climate barriers (air leakage from the living environment) or leakage from the outer roof!
1. Installation
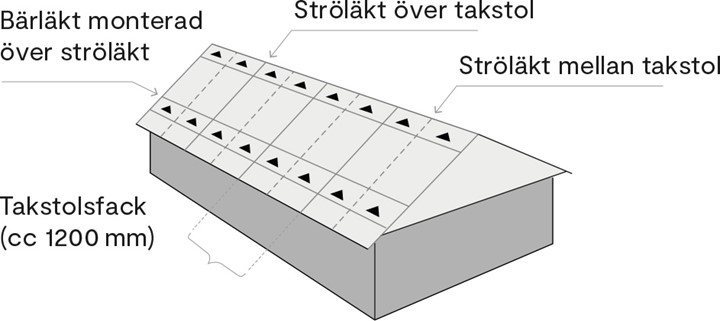
The T-Vent is installed 1-2 units between each rafter at the eaves or ridge. Double installation is required to completely replace the traditional open eaves or fully ventilated ridge. The placement is above the wooden substrate and the underlay between the battens above the rafter and the battens in the middle between the rafters. The installation is done in a drilled hole with a diameter of 83 mm (±2 mm) and with the help and support of the guide rail at the bottom. The attachment is done with five mounting screws for external use in the collar/screen of the vent.

