T-Expand Strip
Expanding joint tape for sealing
and sealing of gaps 6-15 mm
Important!
- The applicable surface must be clean and dry, and free from loose particles, grease, or silicone. The joint surfaces must
be even and smooth. - Slats should be parallel and perpendicular in depth to avoid angled surfaces. Some irregularities can
absorbed by the band, but longer lines with angle and tilt inward or outward give the band uncertain fixation. - In stone/brick facades with uneven joint surfaces, the joints should be filled and smoothed to create flat surfaces
are achieved. - Mount the strip a few mm into the gap so that pressing or dripping water on the outside does not
leads directly into the band. - At colder installation temperatures (and/or at low humidity), the expansion time can be significantly extended. Up to several days in some cases. Increased temperature (and humidity) or gentle heating accelerates the process. To increase the expansion time, the tape can be stored cold before installation.
- After cutting the tape to the correct length, reseal the roll with tape or a locking clip at the tape end.
- In case of leaks in the completed installation (such as corners or joints), supplement and seal with T-Fix sealant. This can be done from the outside or inside after full expansion.
- Rolls should be stored protected from heat and sunlight.
- For window or door installation, we recommend using a so-called secondary seal (underlying waterproof layer) such as Flexseal-T at the bottom of the opening. The tape is intended to protect the frame and is installed before the window or door installation.
1.
Cut off the first and last 3 cm of the entire roll. Measure the desired length and cut. Always calculate a few extra cm per meter as a reserve before installation.
2.
On frames or elements, remove a piece of the protective paper and attach the sealing tape to the relevant surface. Generally, the placement should be at the outer edge towards the outside of the construction. In heated and insulated constructions, the inside should be sealed with a vapor barrier/vapor brake or equivalent tight tape. Press the tape evenly with fingers or a putty knife. If the adhesive adheres poorly to the underlying surface, the tape can be fixed until full expansion has occurred.

3.
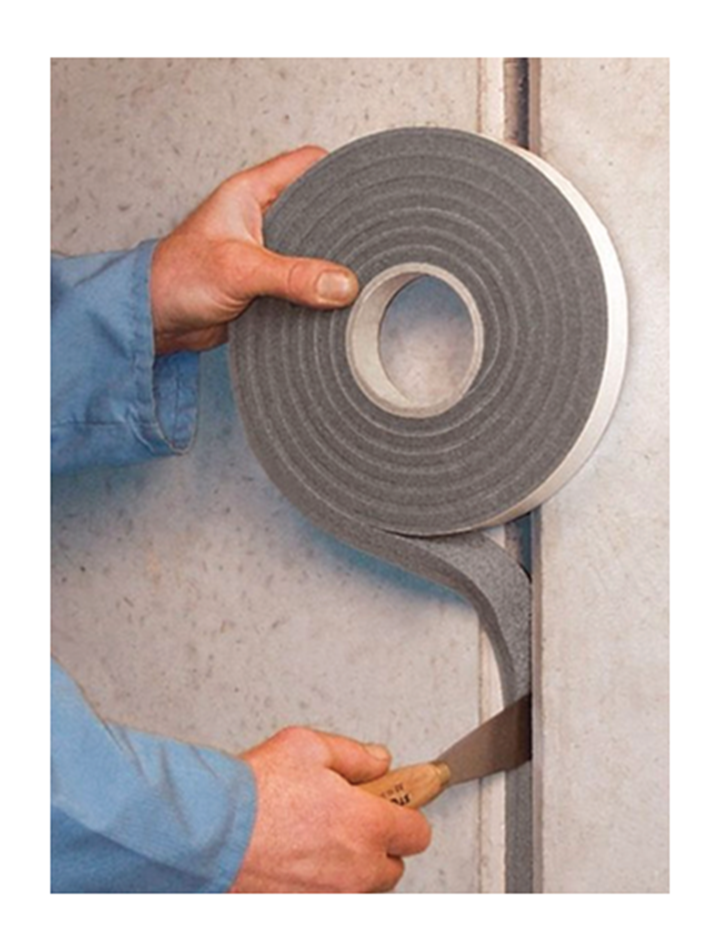
During installation in already exposed joints, the tape can be inserted afterwards. Ensure that the tape has free movement and avoid the adhesive side sticking to the edge of the joint during application. Press firmly and fix the adhesive side in the correct position in the joint with a putty knife

4.
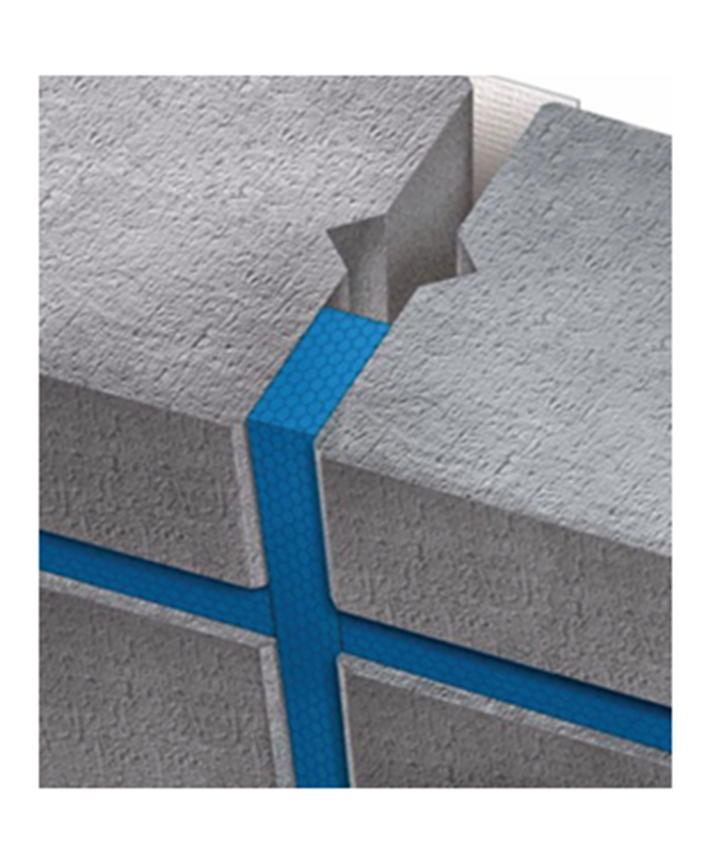
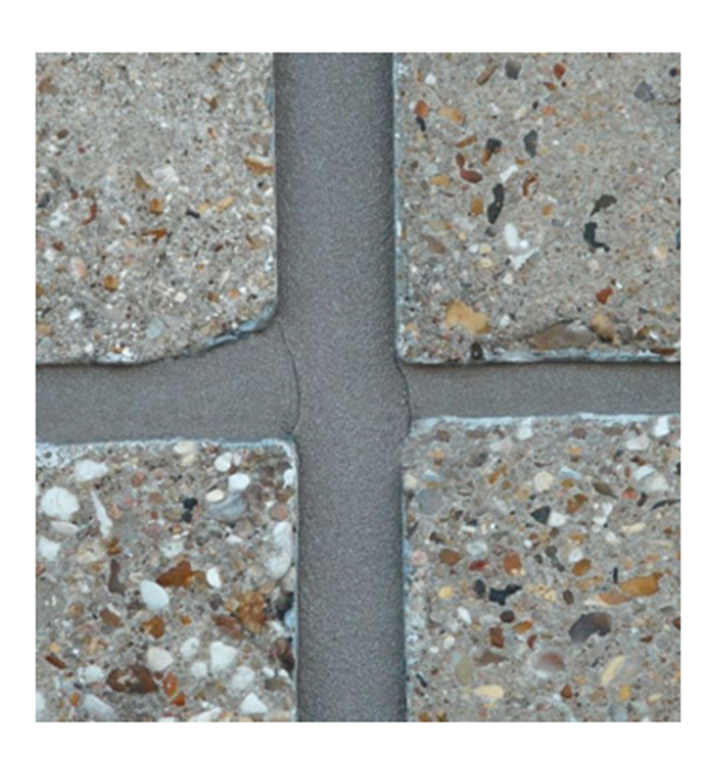
Cross joints are assembled first with the vertical strip, which should be continuous. Then the horizontal ones, which should press lightly against the vertical. The continuous strip is always installed first. When connecting the other two, the strips are pressed against each other with a light pressure.
Sealing strips must never overlap each other! Short ends meet short ends with light pressure. In corner joints, the horizontal strips are installed first. The vertical ones are then installed with light pressure against the horizontal ones.
